
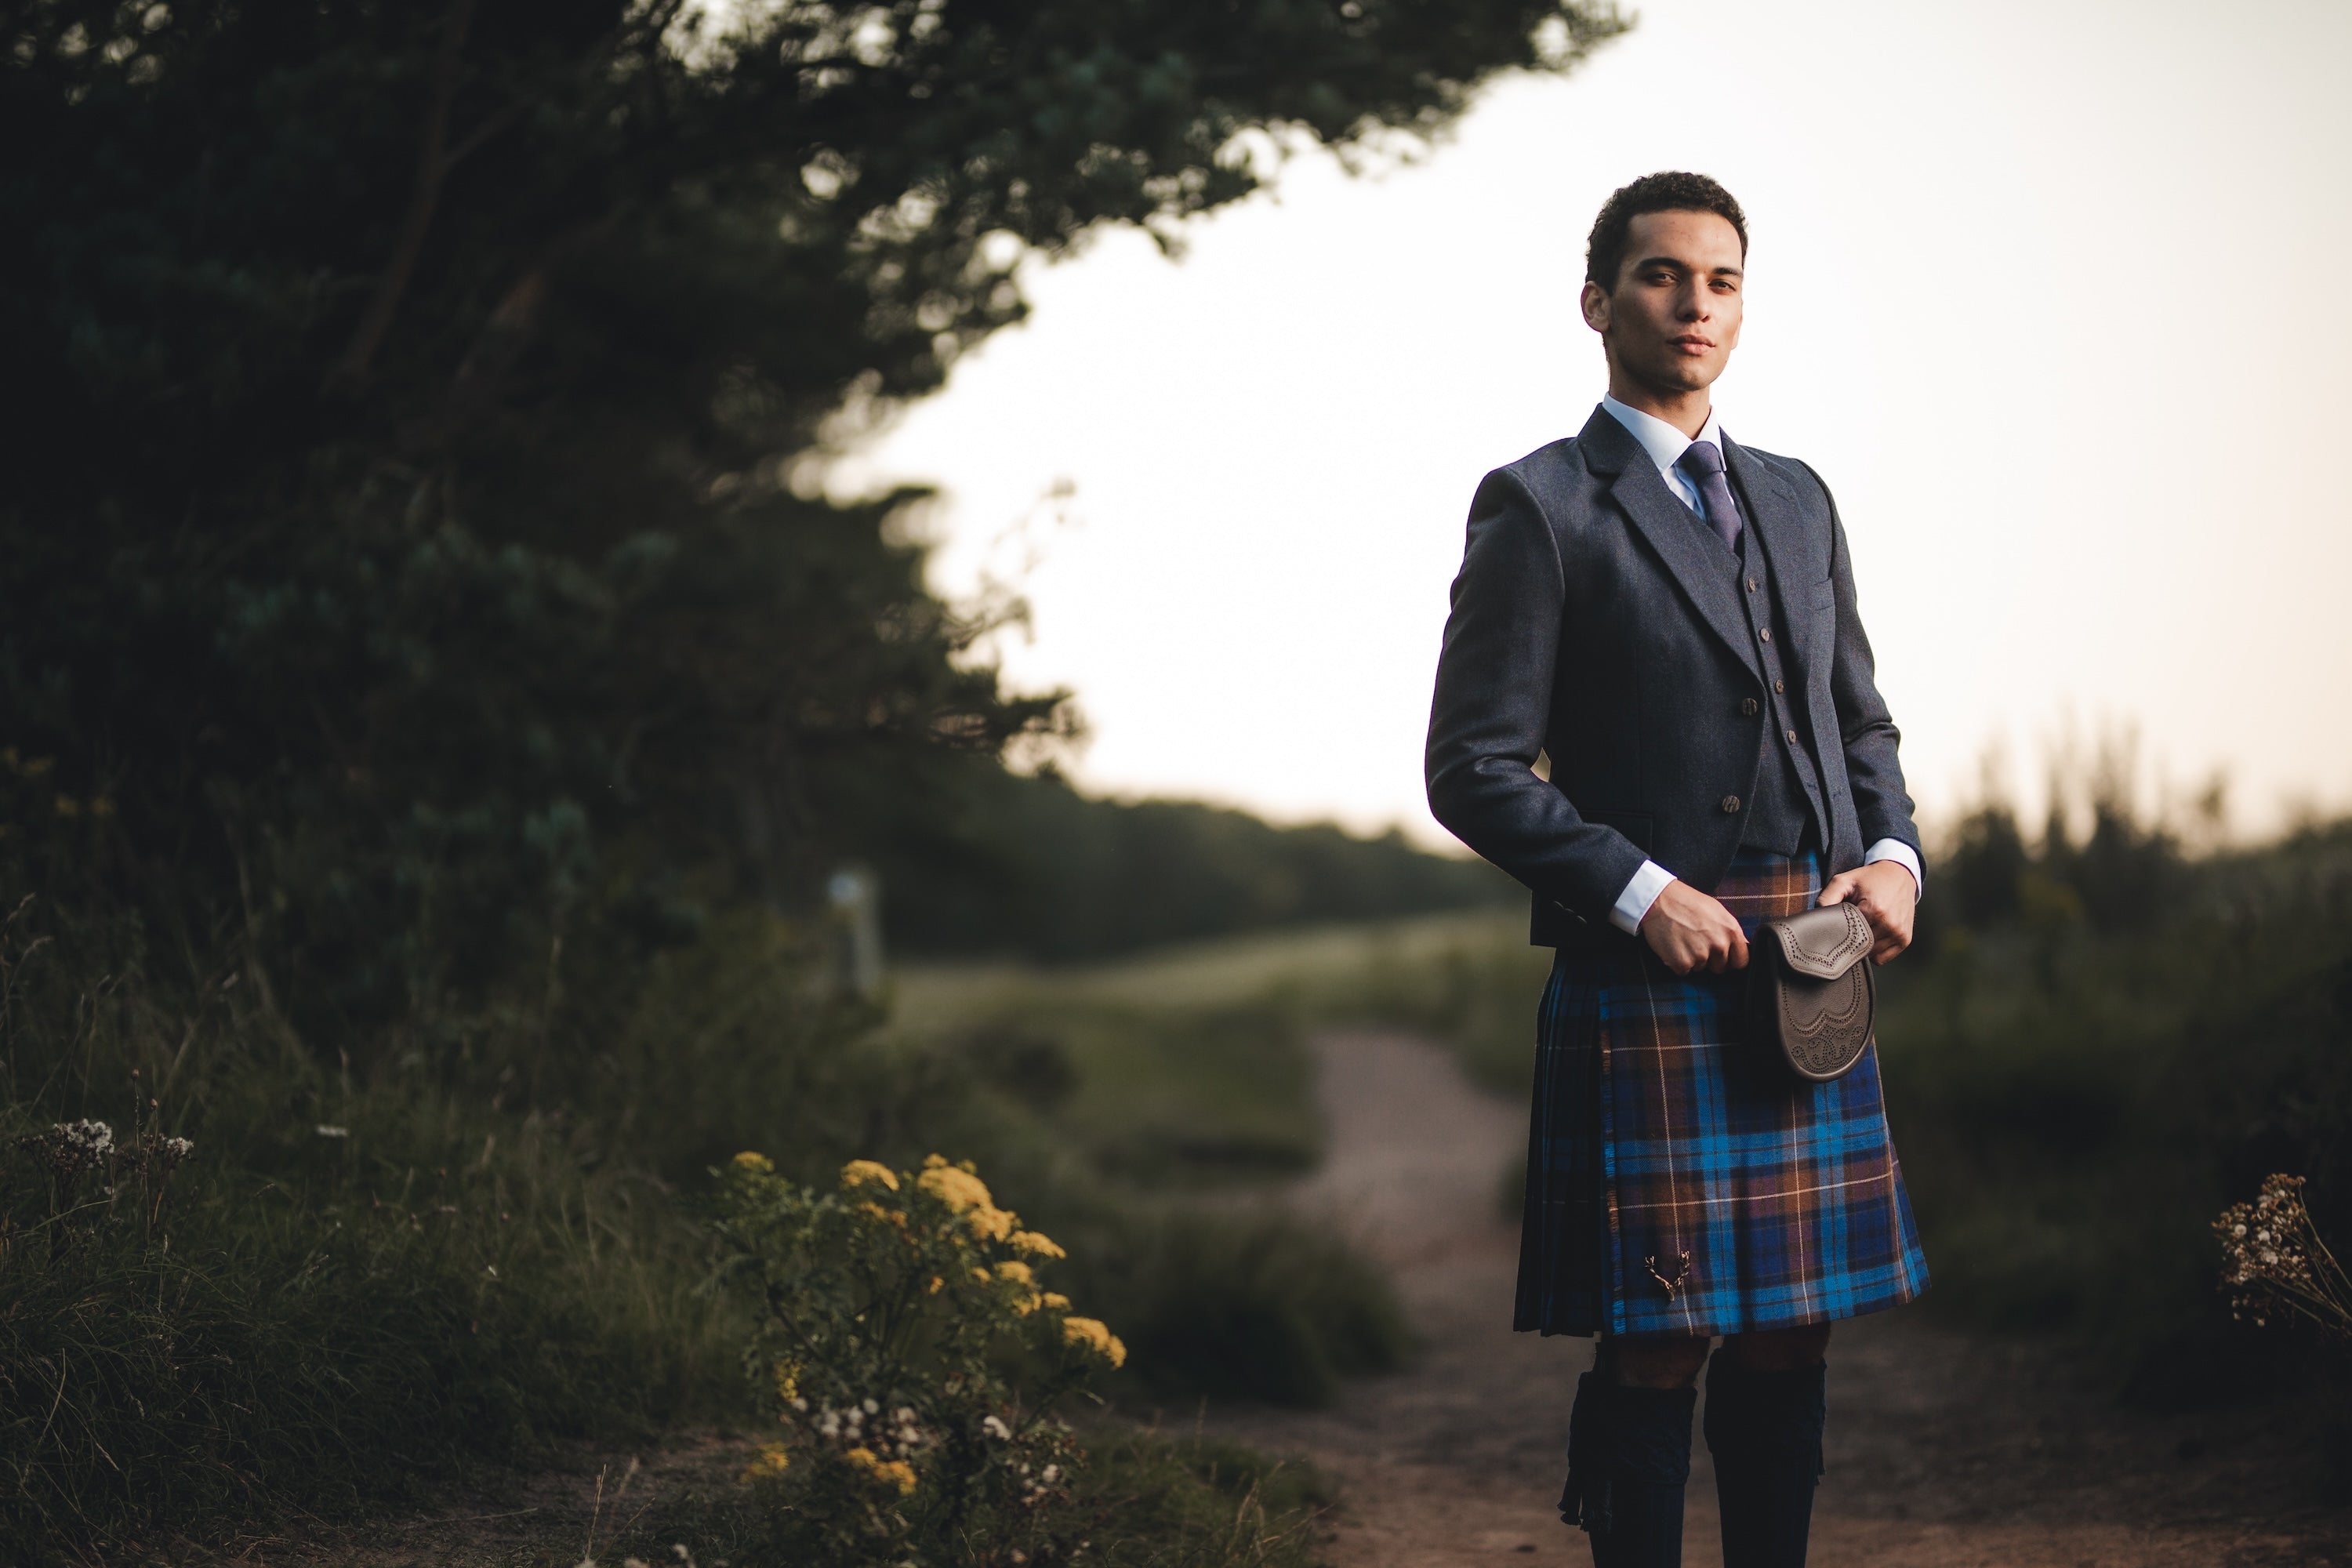
How to put on your kilt outfit, step by step
-

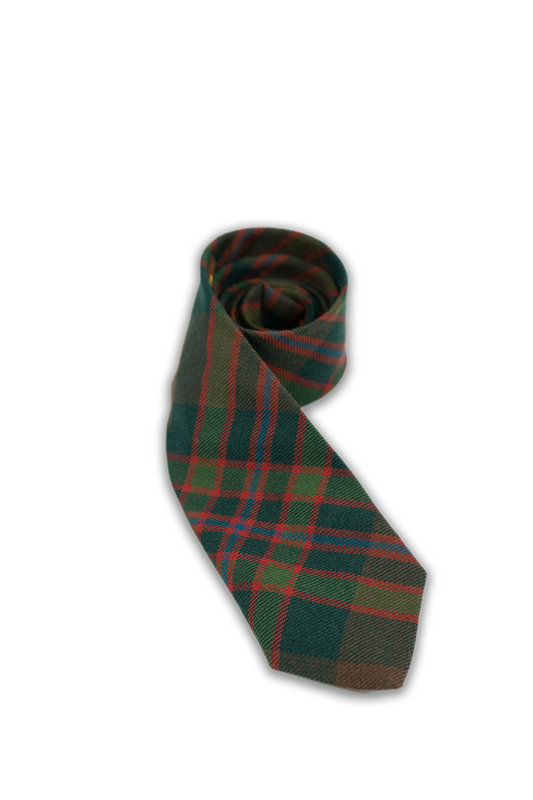
Step 1: Shirt (and tie!)
Start with your shirt and choice of straight, bow or cravat tie (and your pants...but we hope that goes without saying).
-
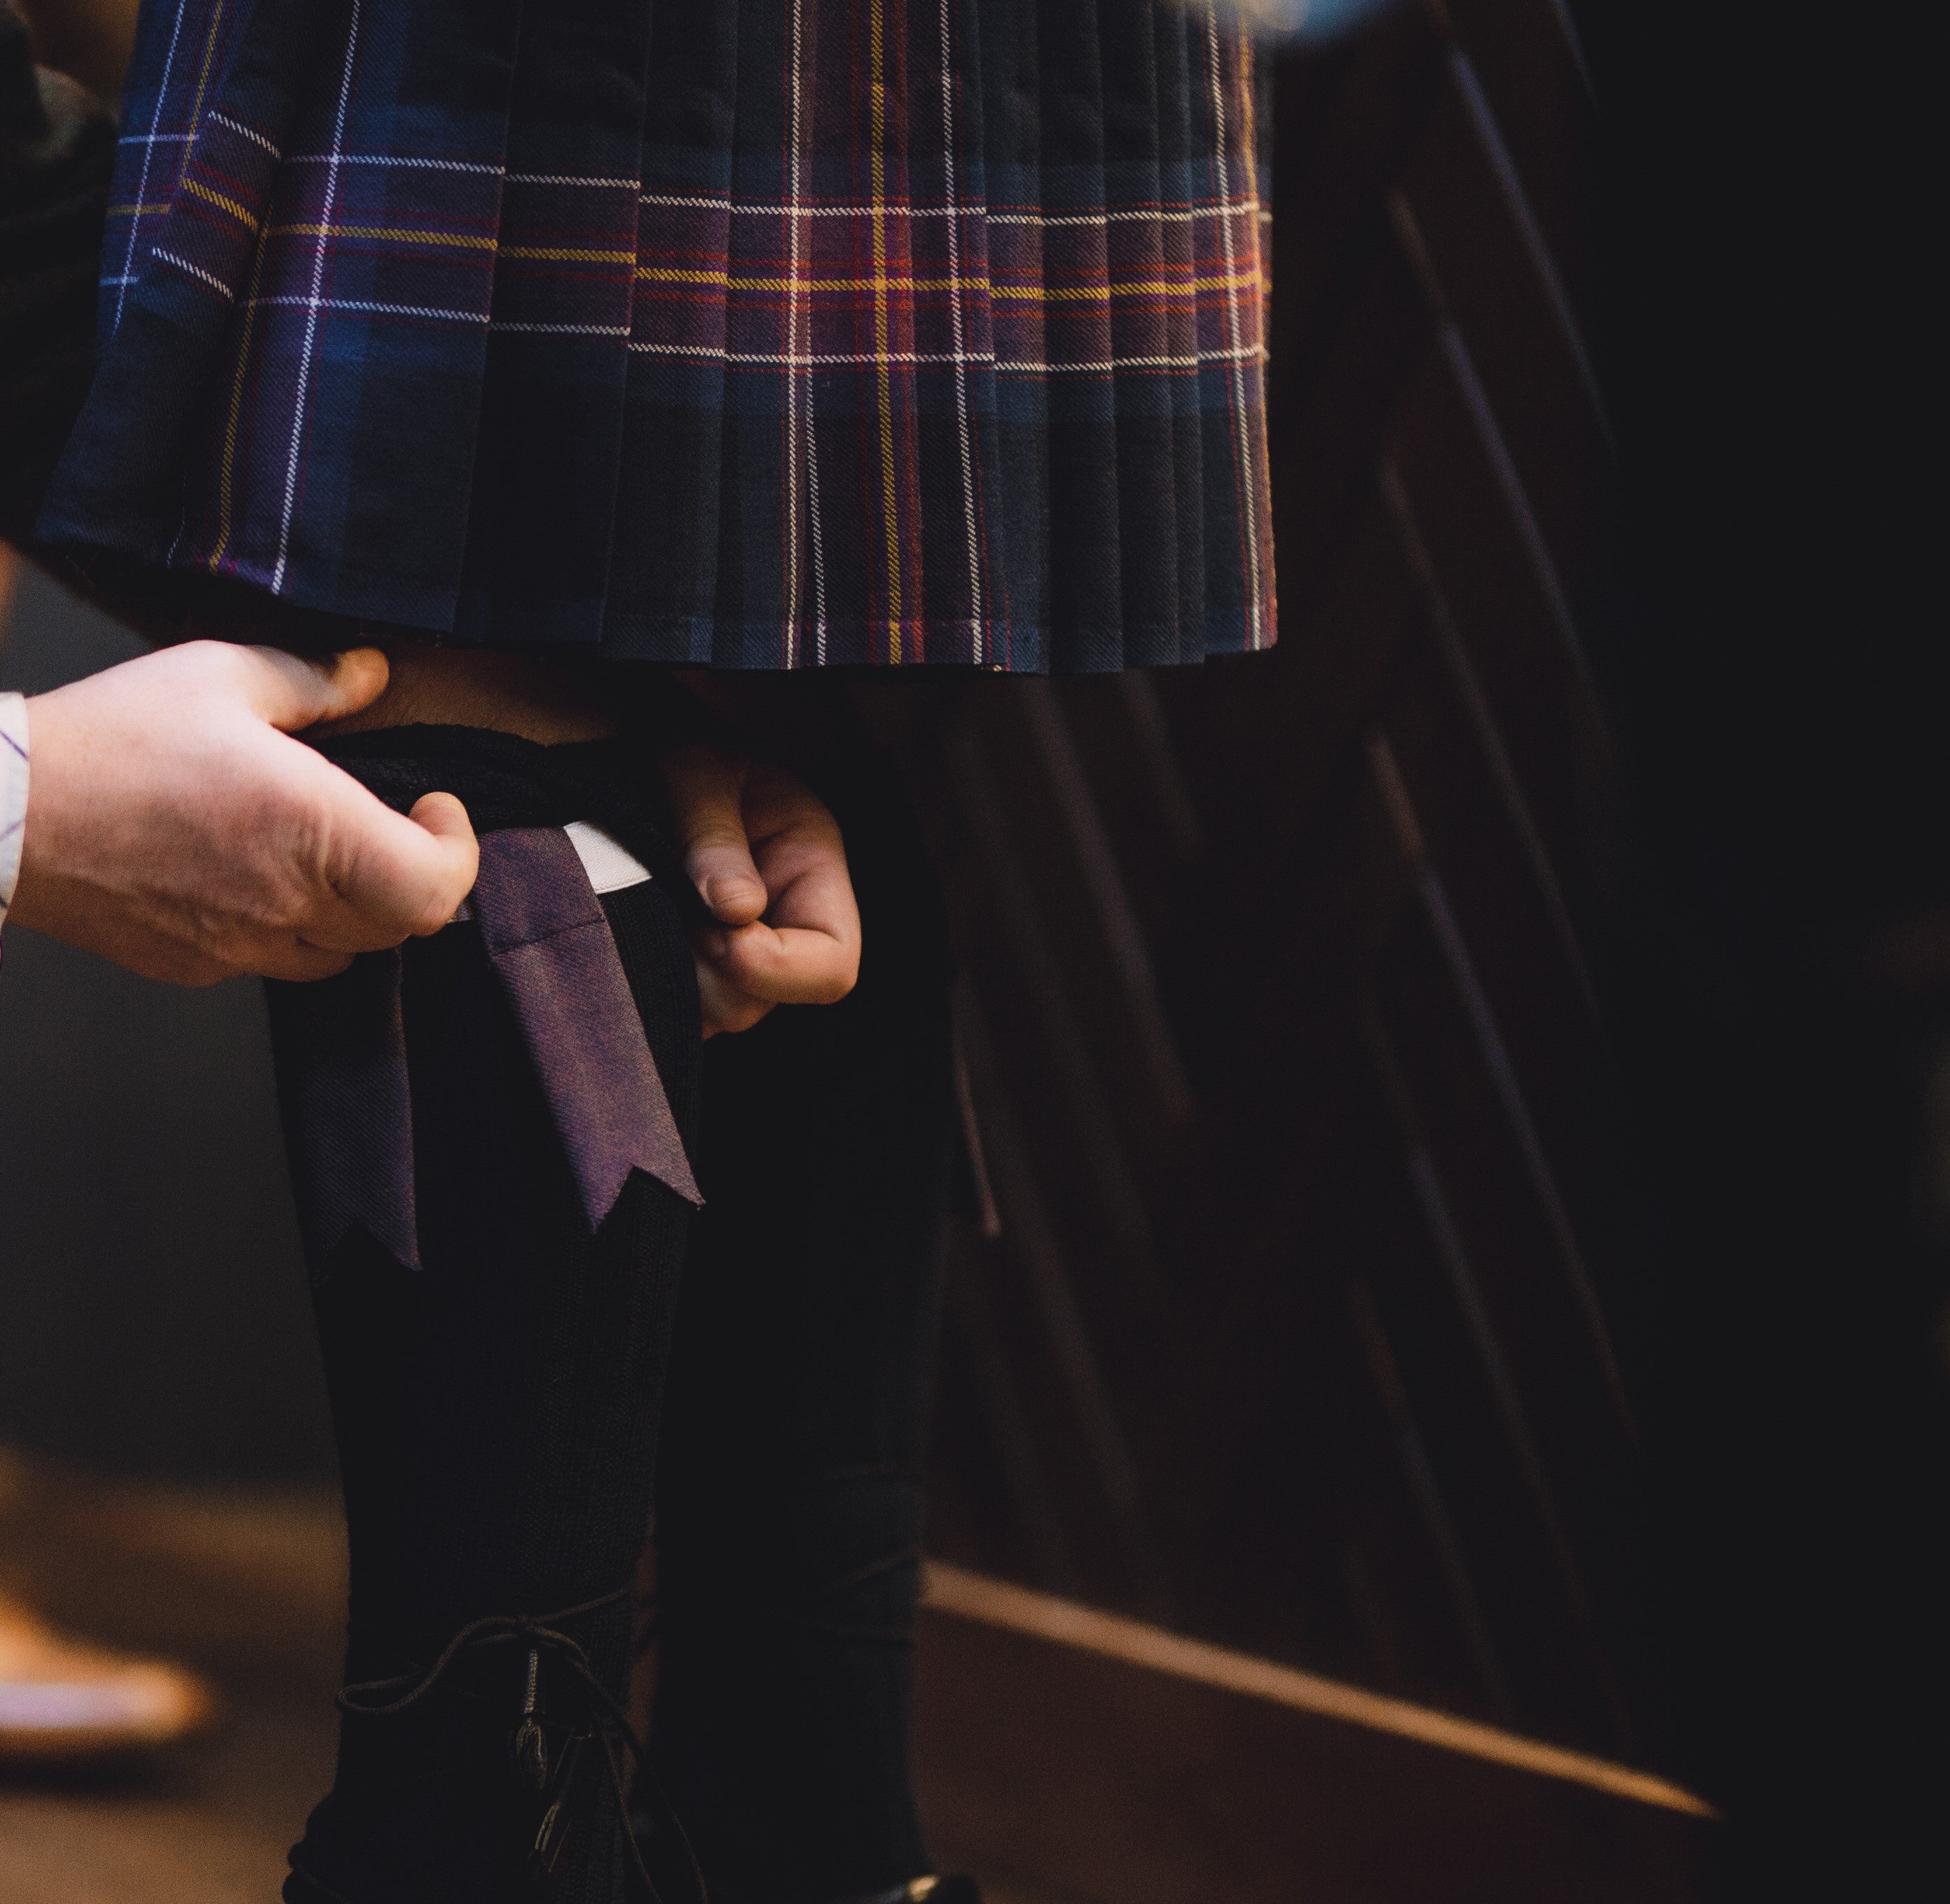
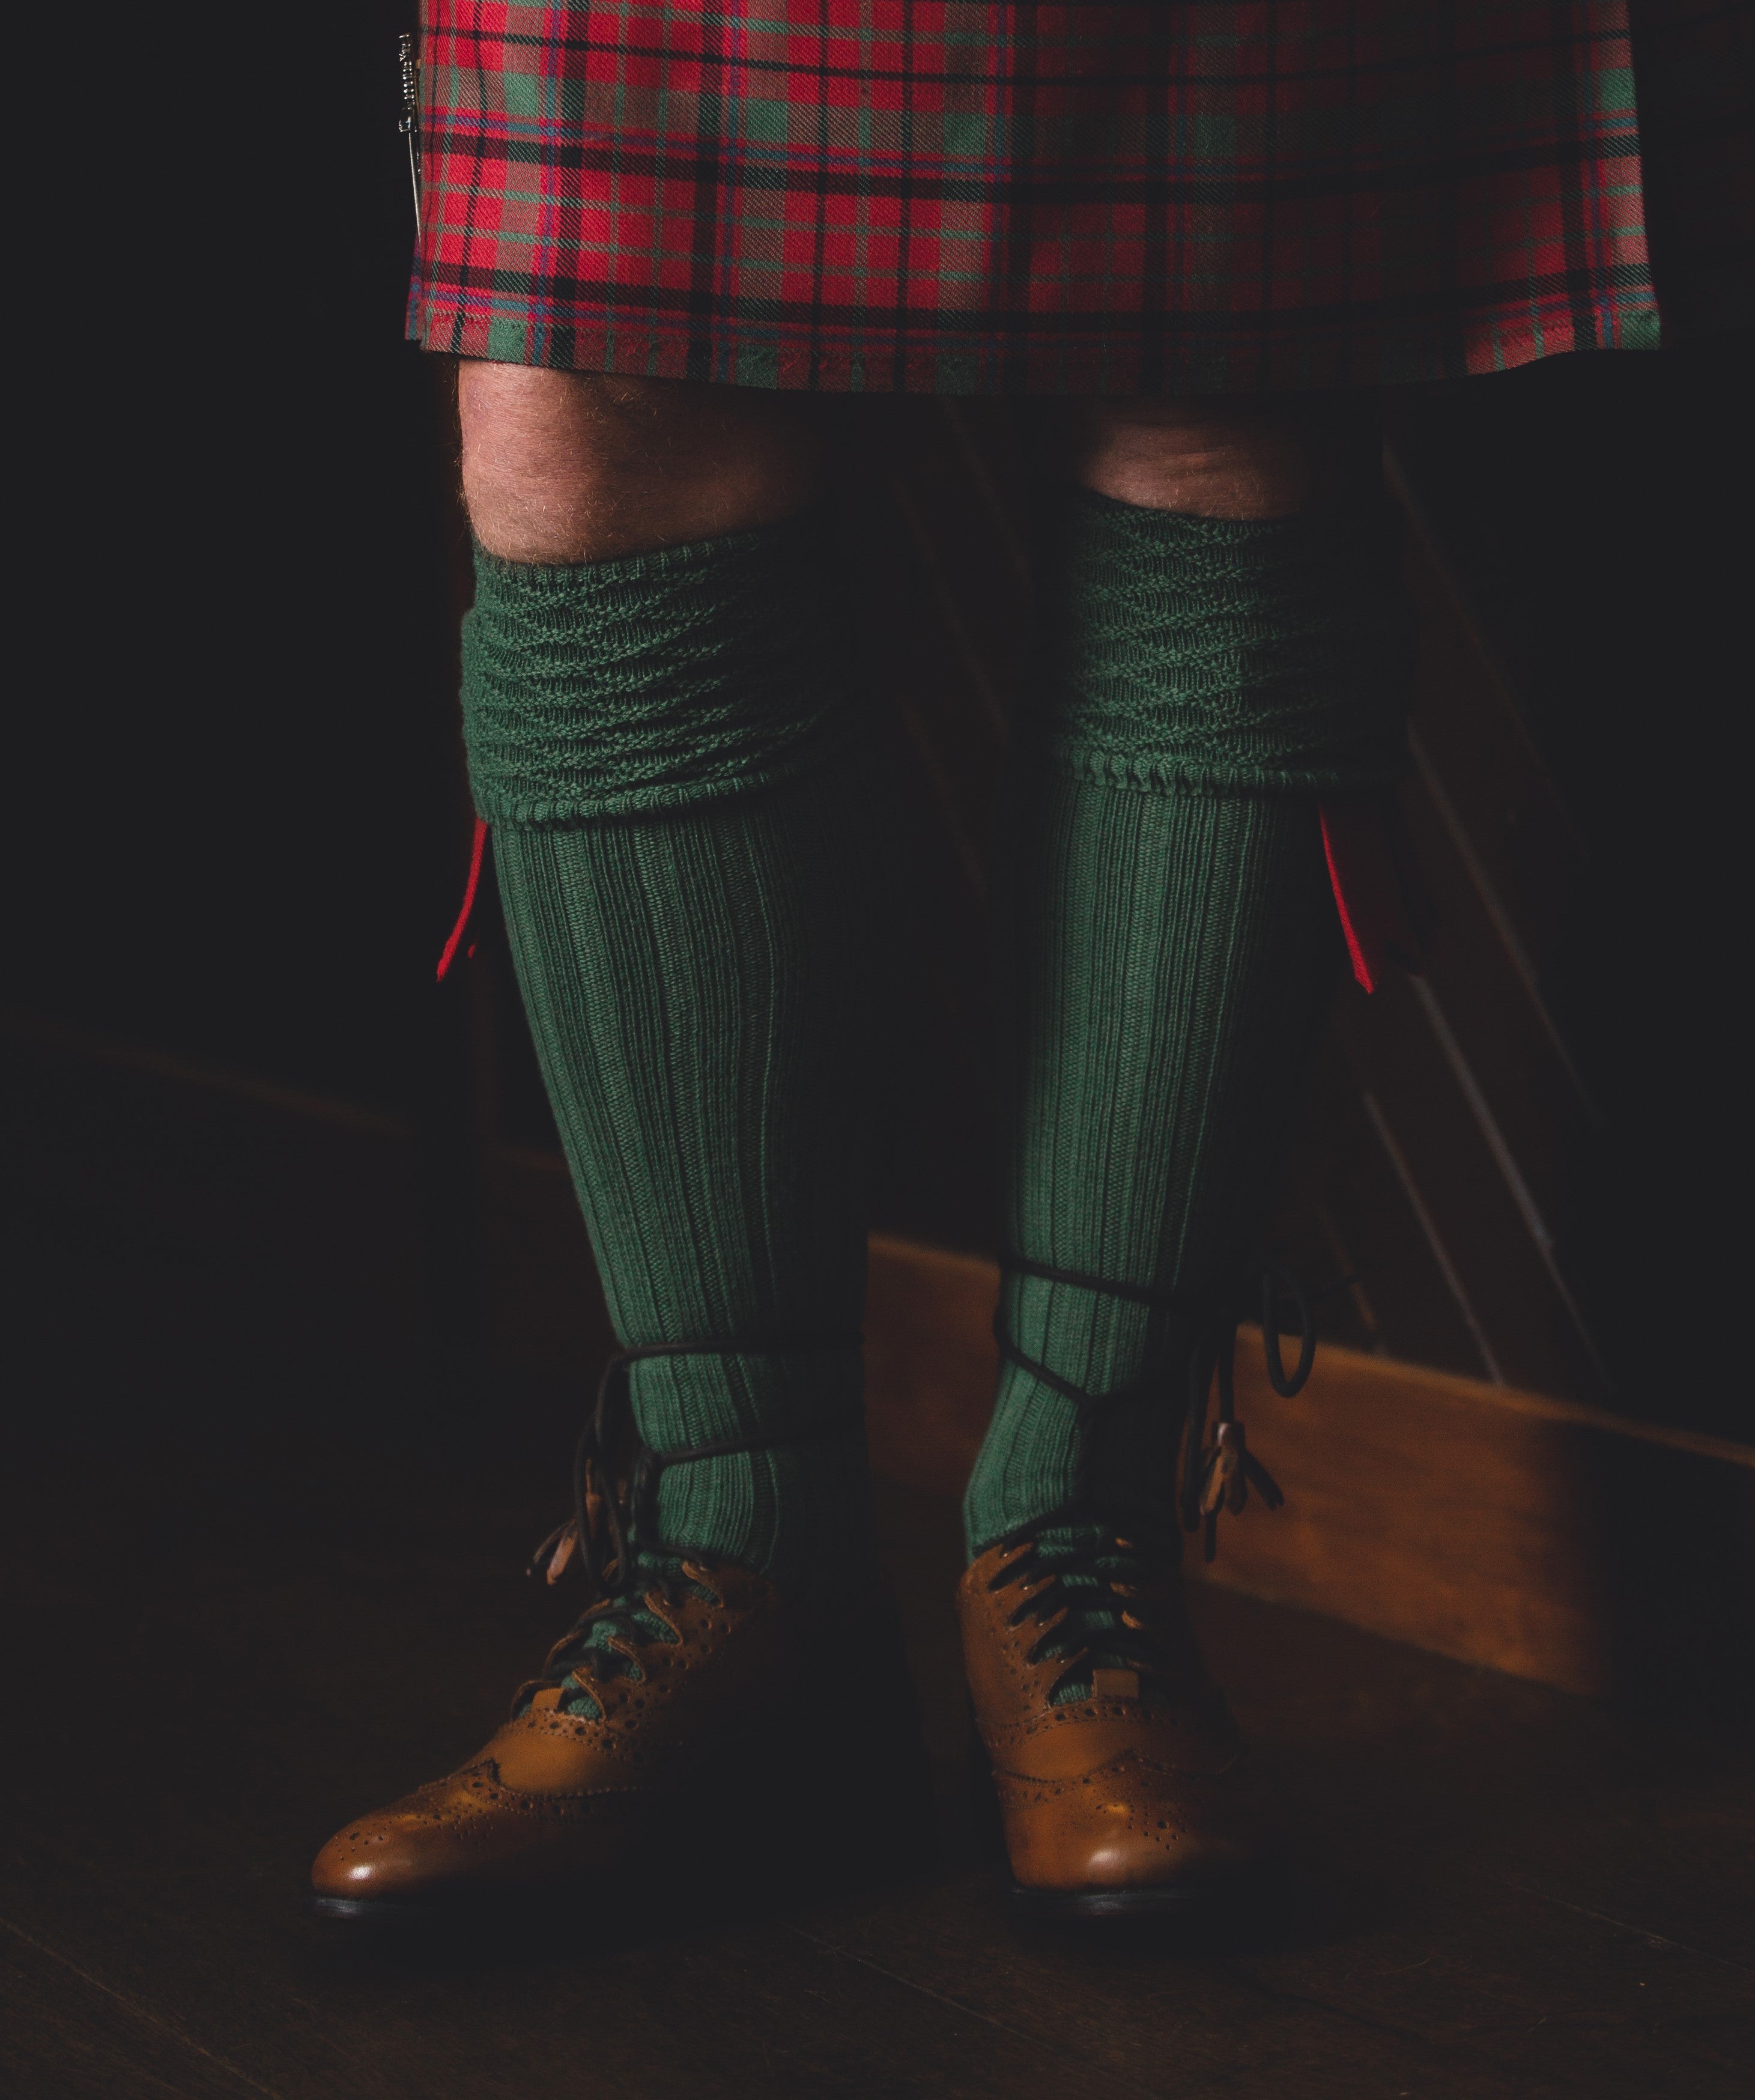
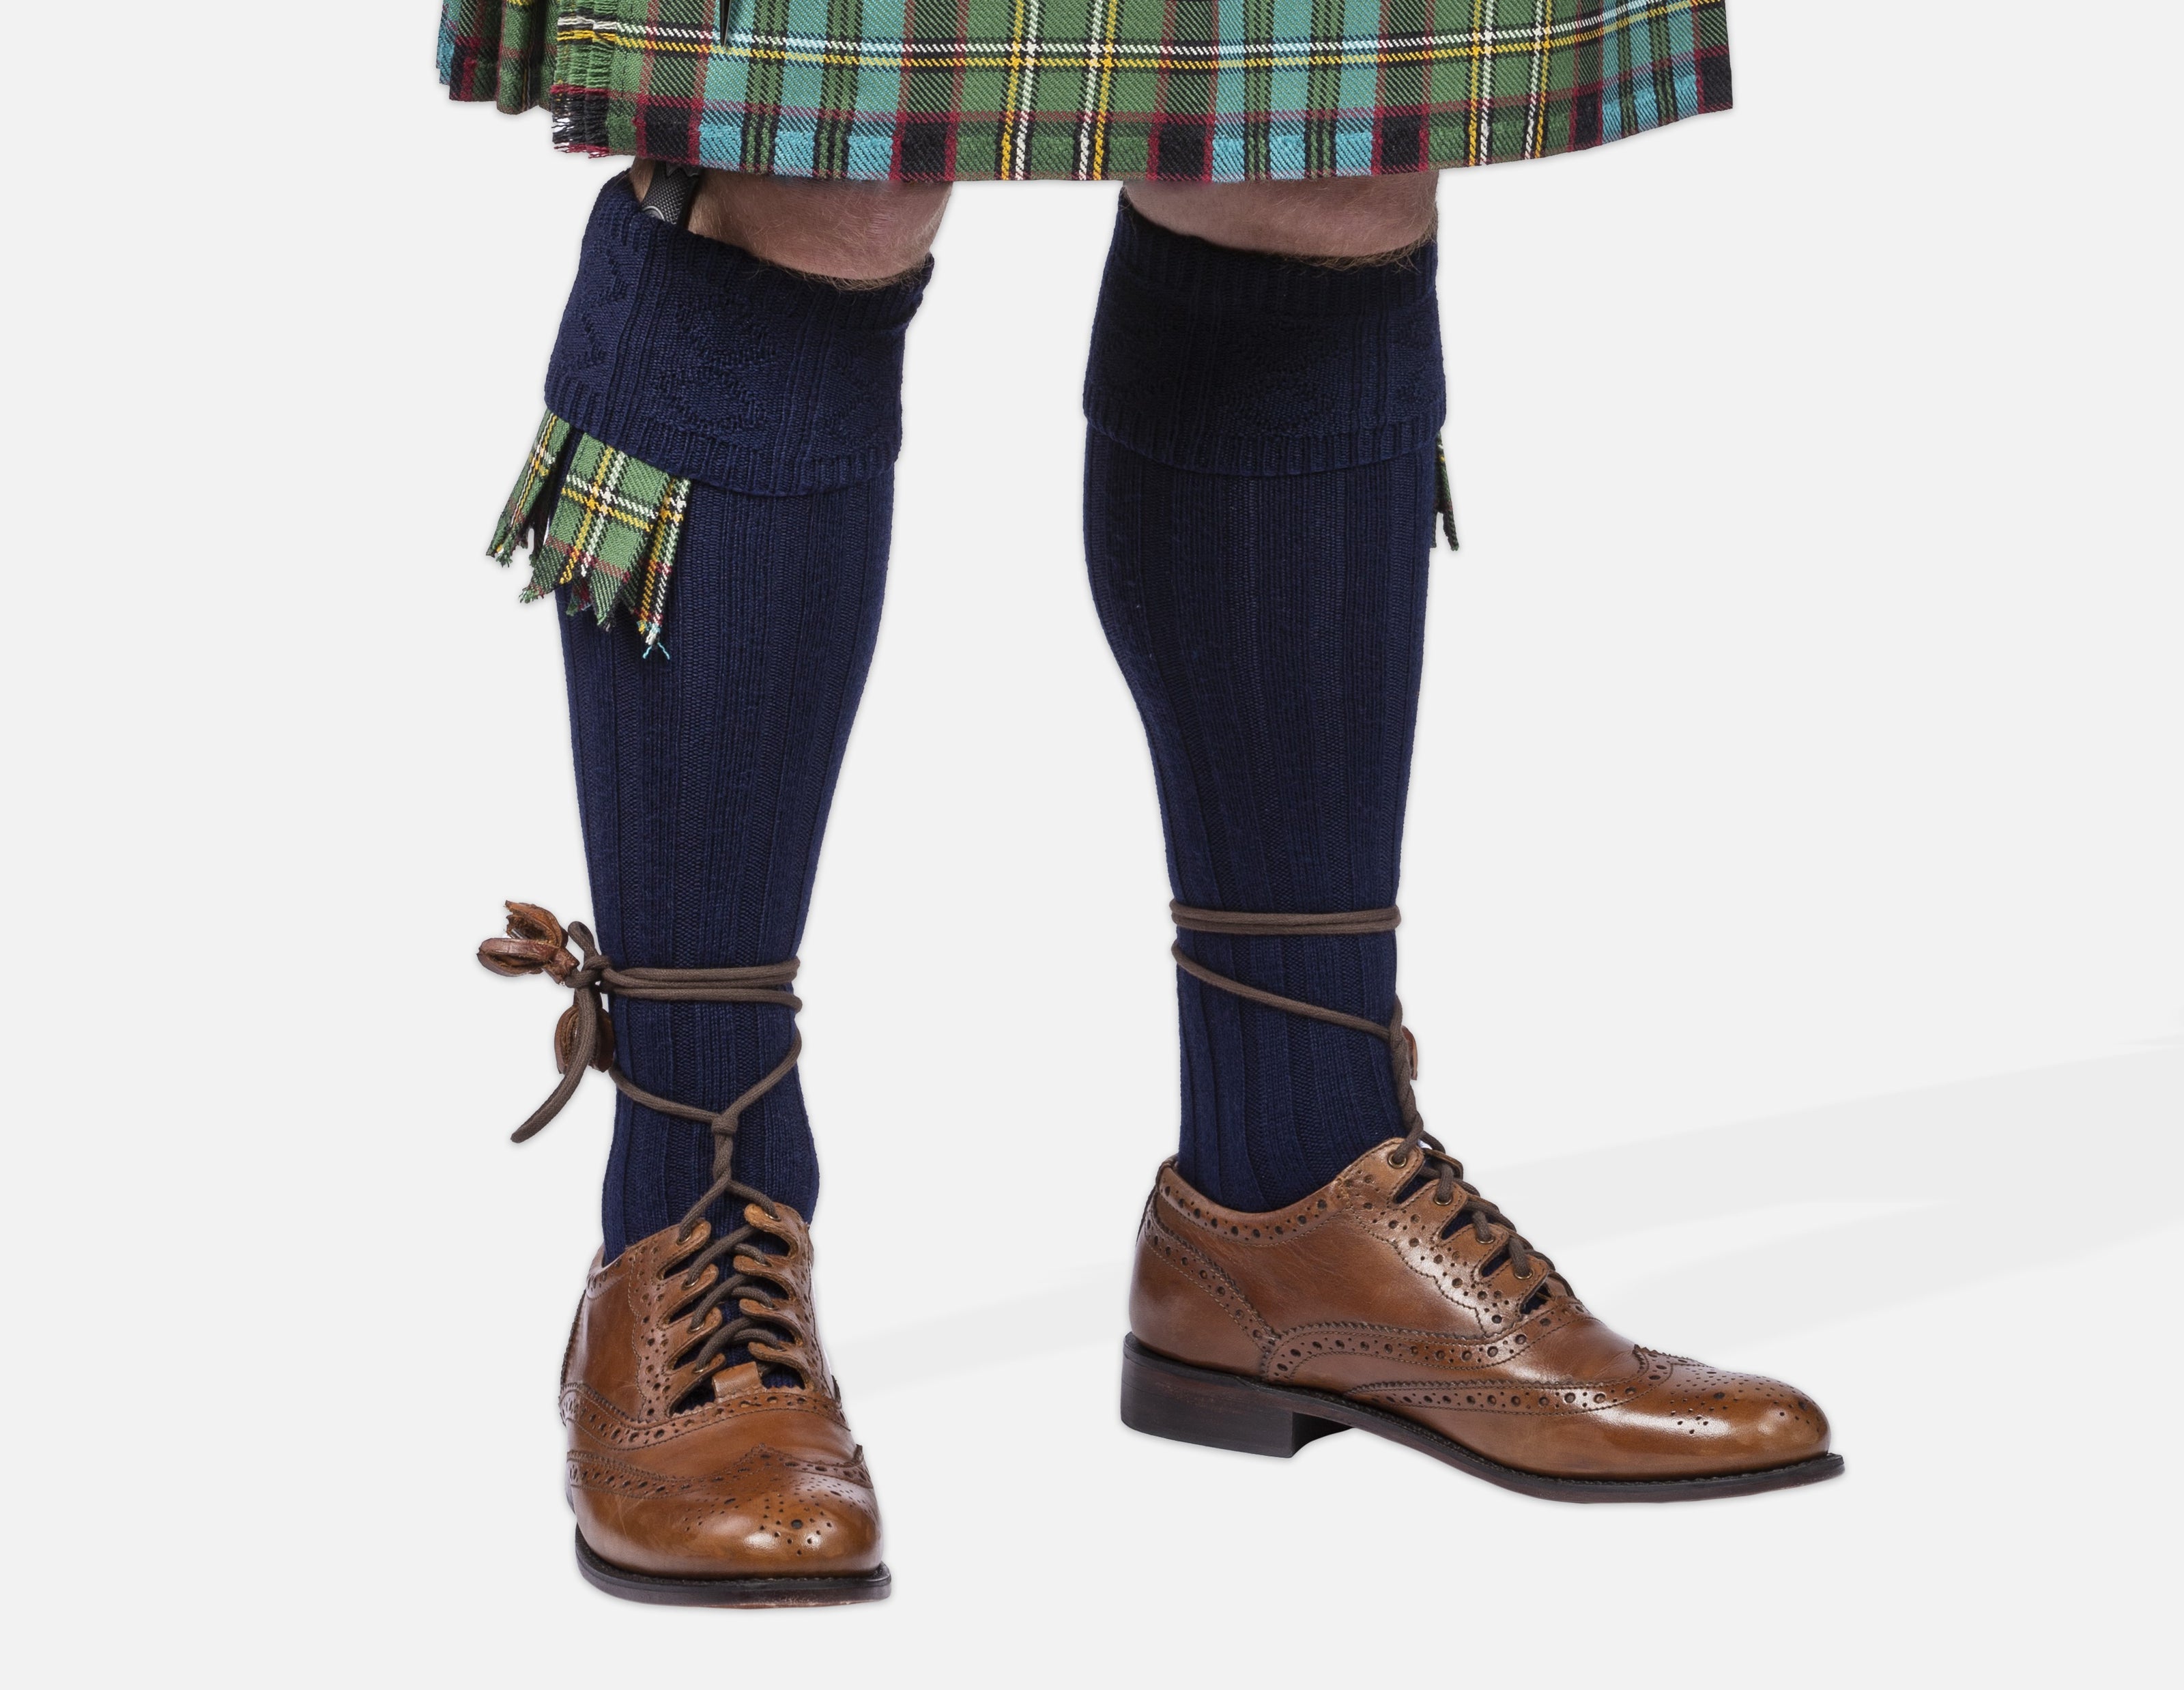
Step 2: Kilt socks & Flashes
Next, put on your kilt socks and flashes. Pull your sock all the way on then strap the garters of the flashes underneath the bottom of your knees. The flashes sit on the outsides of the calves. Then pull the top of the socks back down over the garters of the flashes, covering them and leaving just a few inches of the flashes hanging out. Short gents may need to double up the fold over of the socks.
-
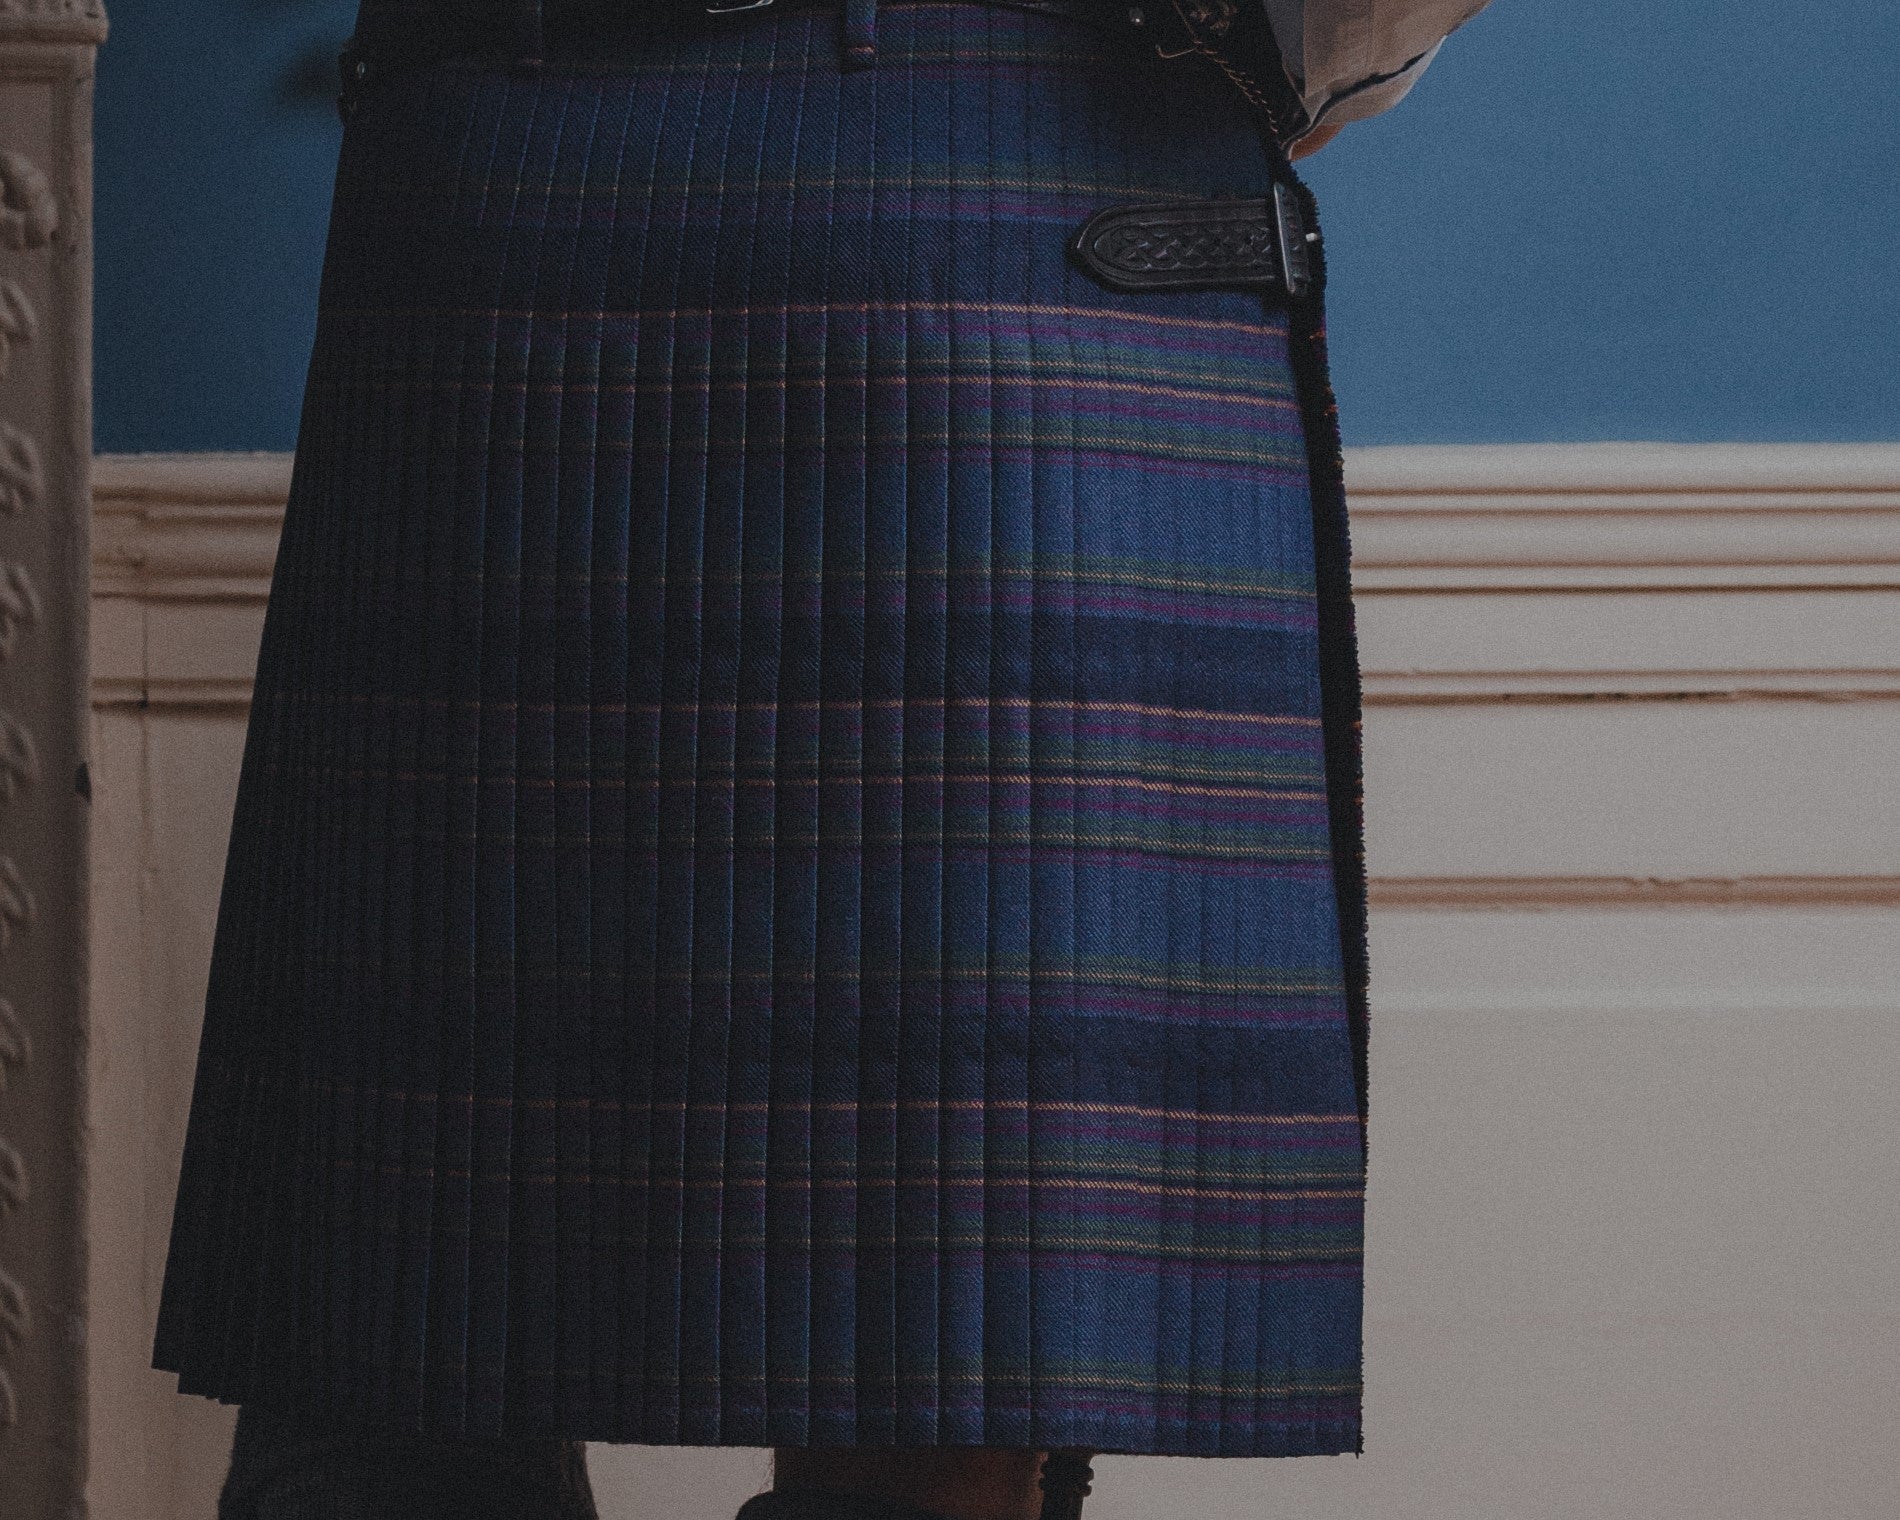
Step 3: Kilt
Time for your kilt - make sure the waistband is sitting snugly around your natural waist (where your belly button is) - you will need to pull the straps as tight as you can to ensure the kilt remains in the correct position.
-
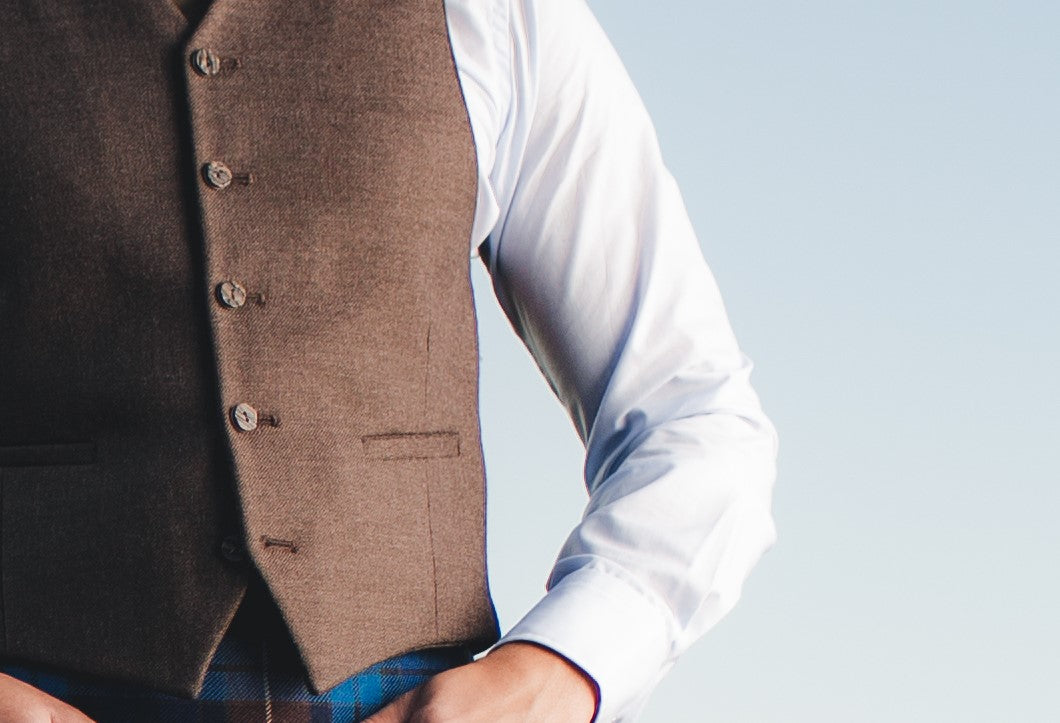
Step 4: Waistcoat
The waistcoat goes on next - if you are wearing a tweed jacket, leave the bottom button undone.
-

Step 5: Sporran
It's now time for the sporran - use the opening waistcoat as a guide to help you, using your hand to measure one handspan down from the waistband of the kilt/the bottom button of the waistcoat to the top of the sporran (you may need a pal to help you fasten the sporran at the back and pull the chain through the large sporran loops at the back of the kilt).
-
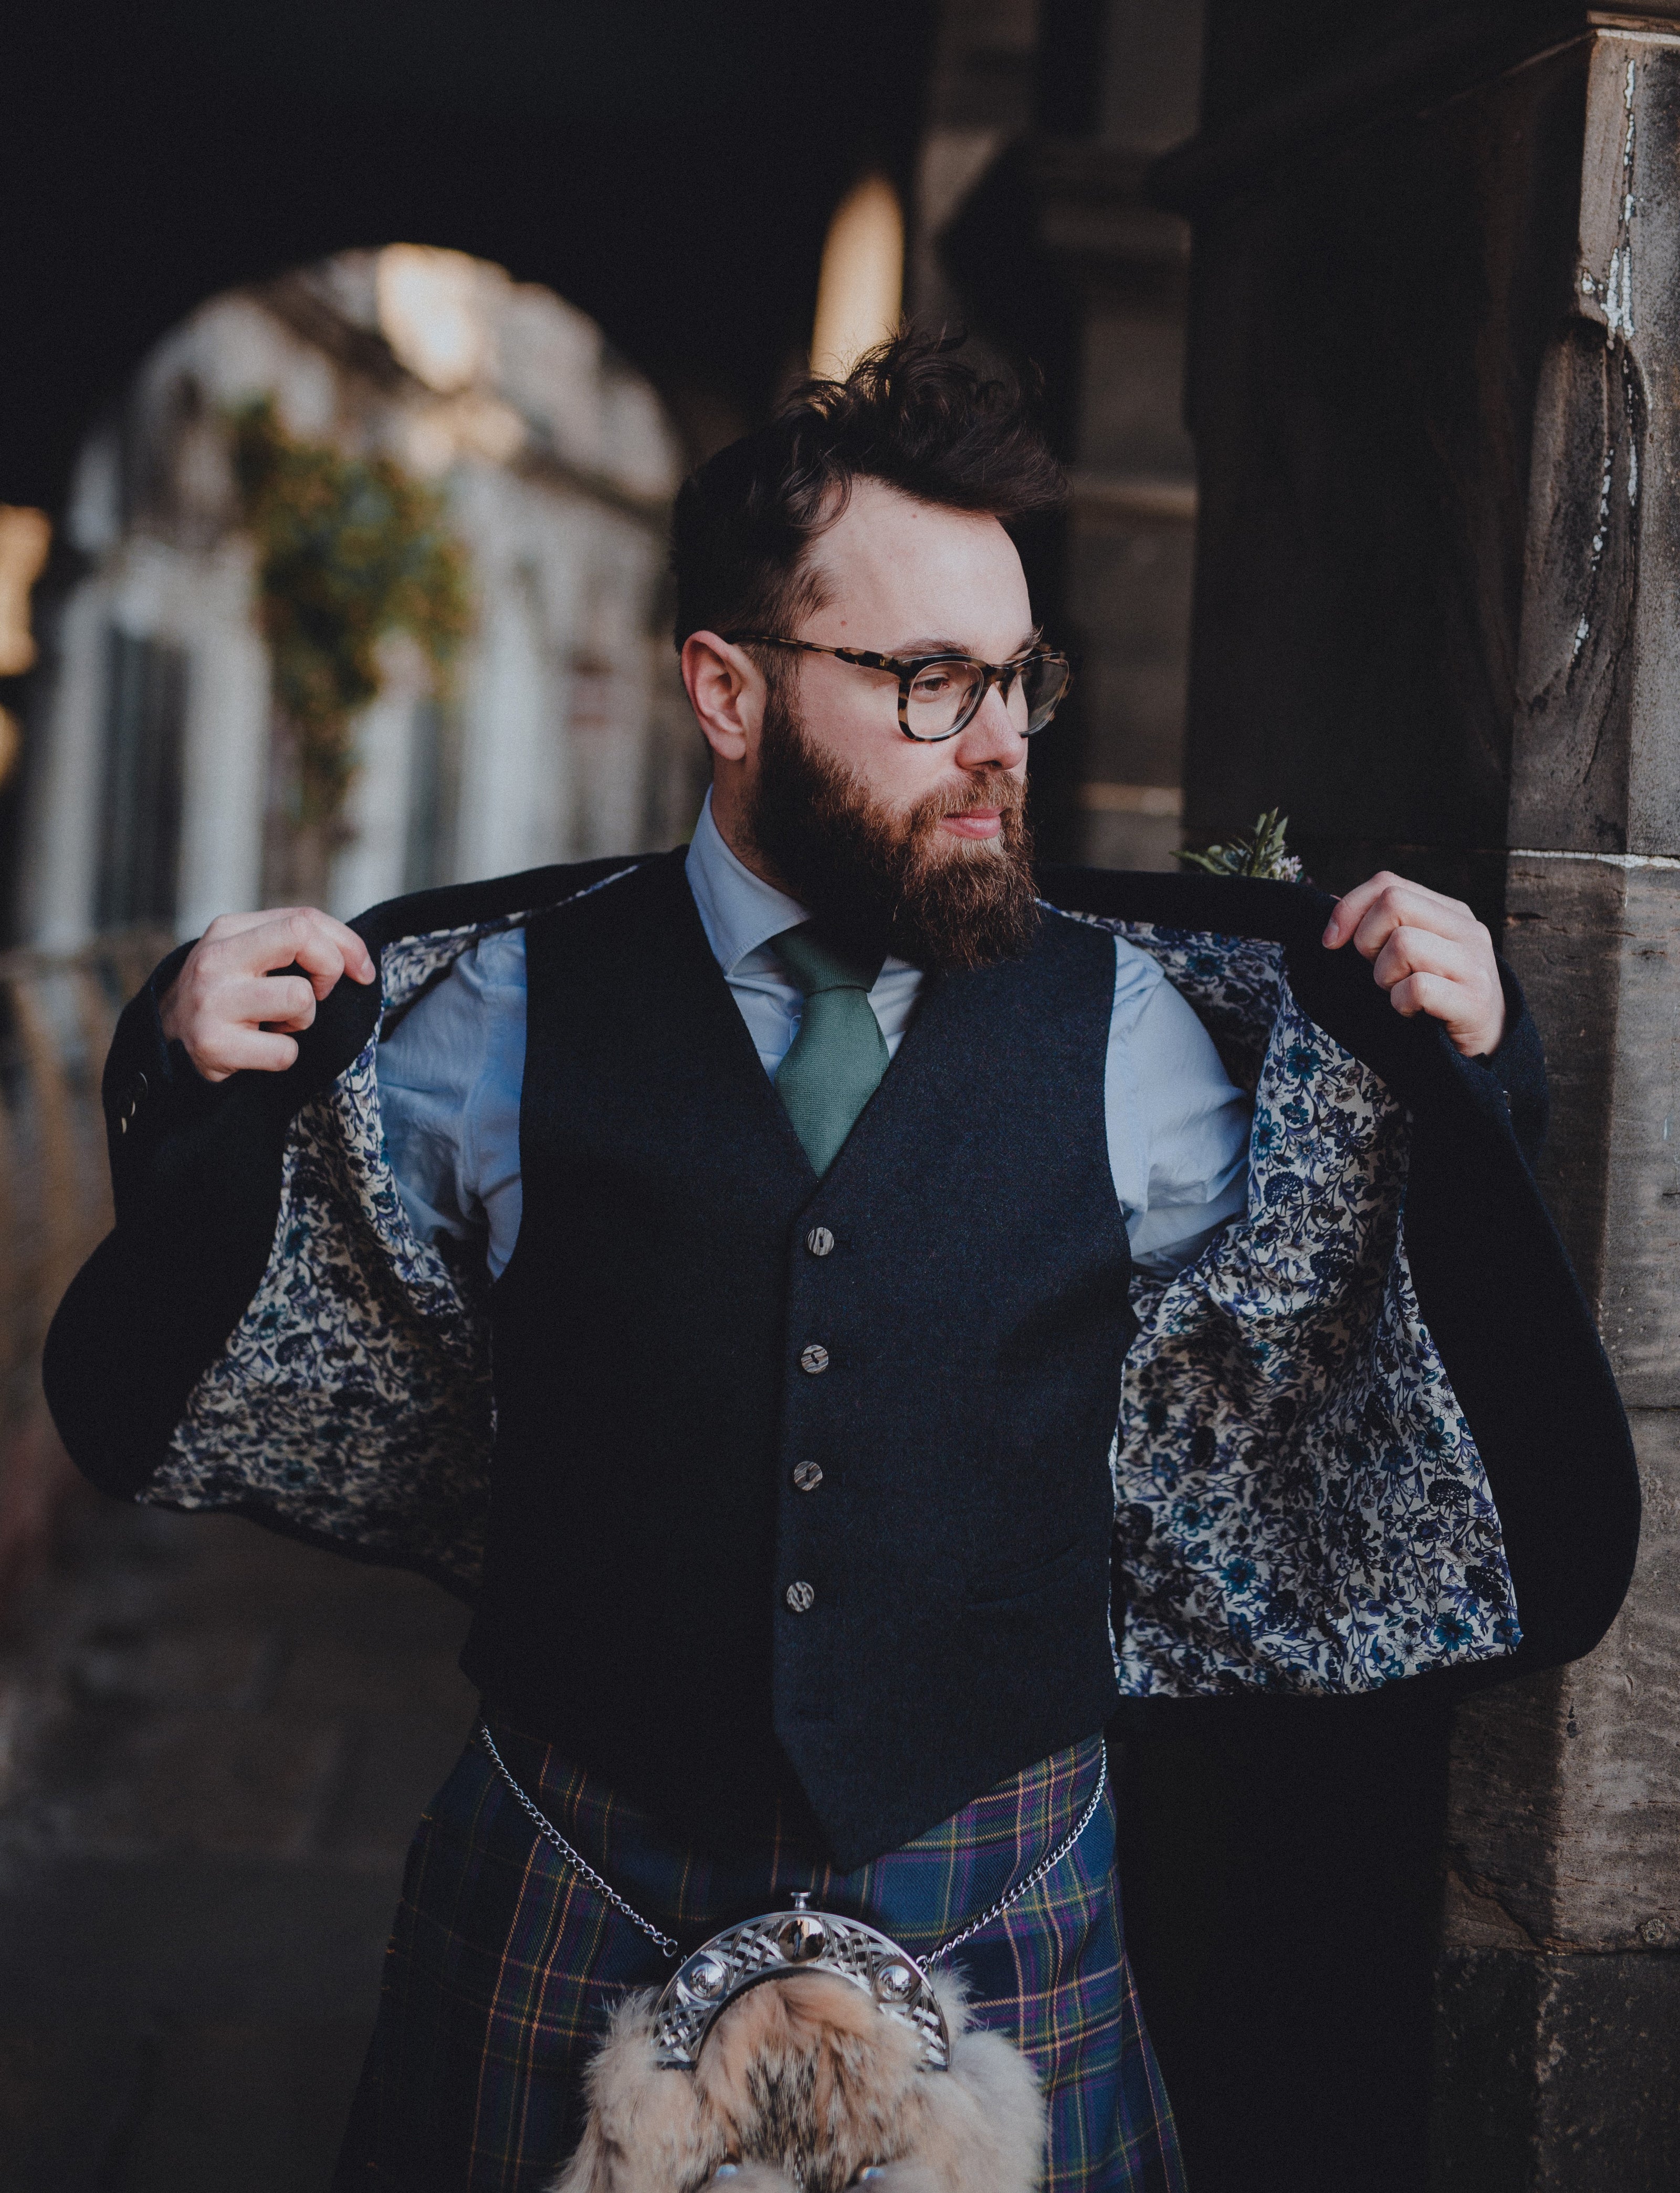
Step 6: Jacket
Now you can put on your jacket, remember that if you are fastening it to only fasten the top button.
-

Step 7: Sgian Dubh
You can now complete your look with your sgian dubh! Make sure to tuck this inside the sock on the side of your writing hand, running down the outside of the leg. Only about an inch of the top of the sgian dubh is left visible above the top of the sock.
-
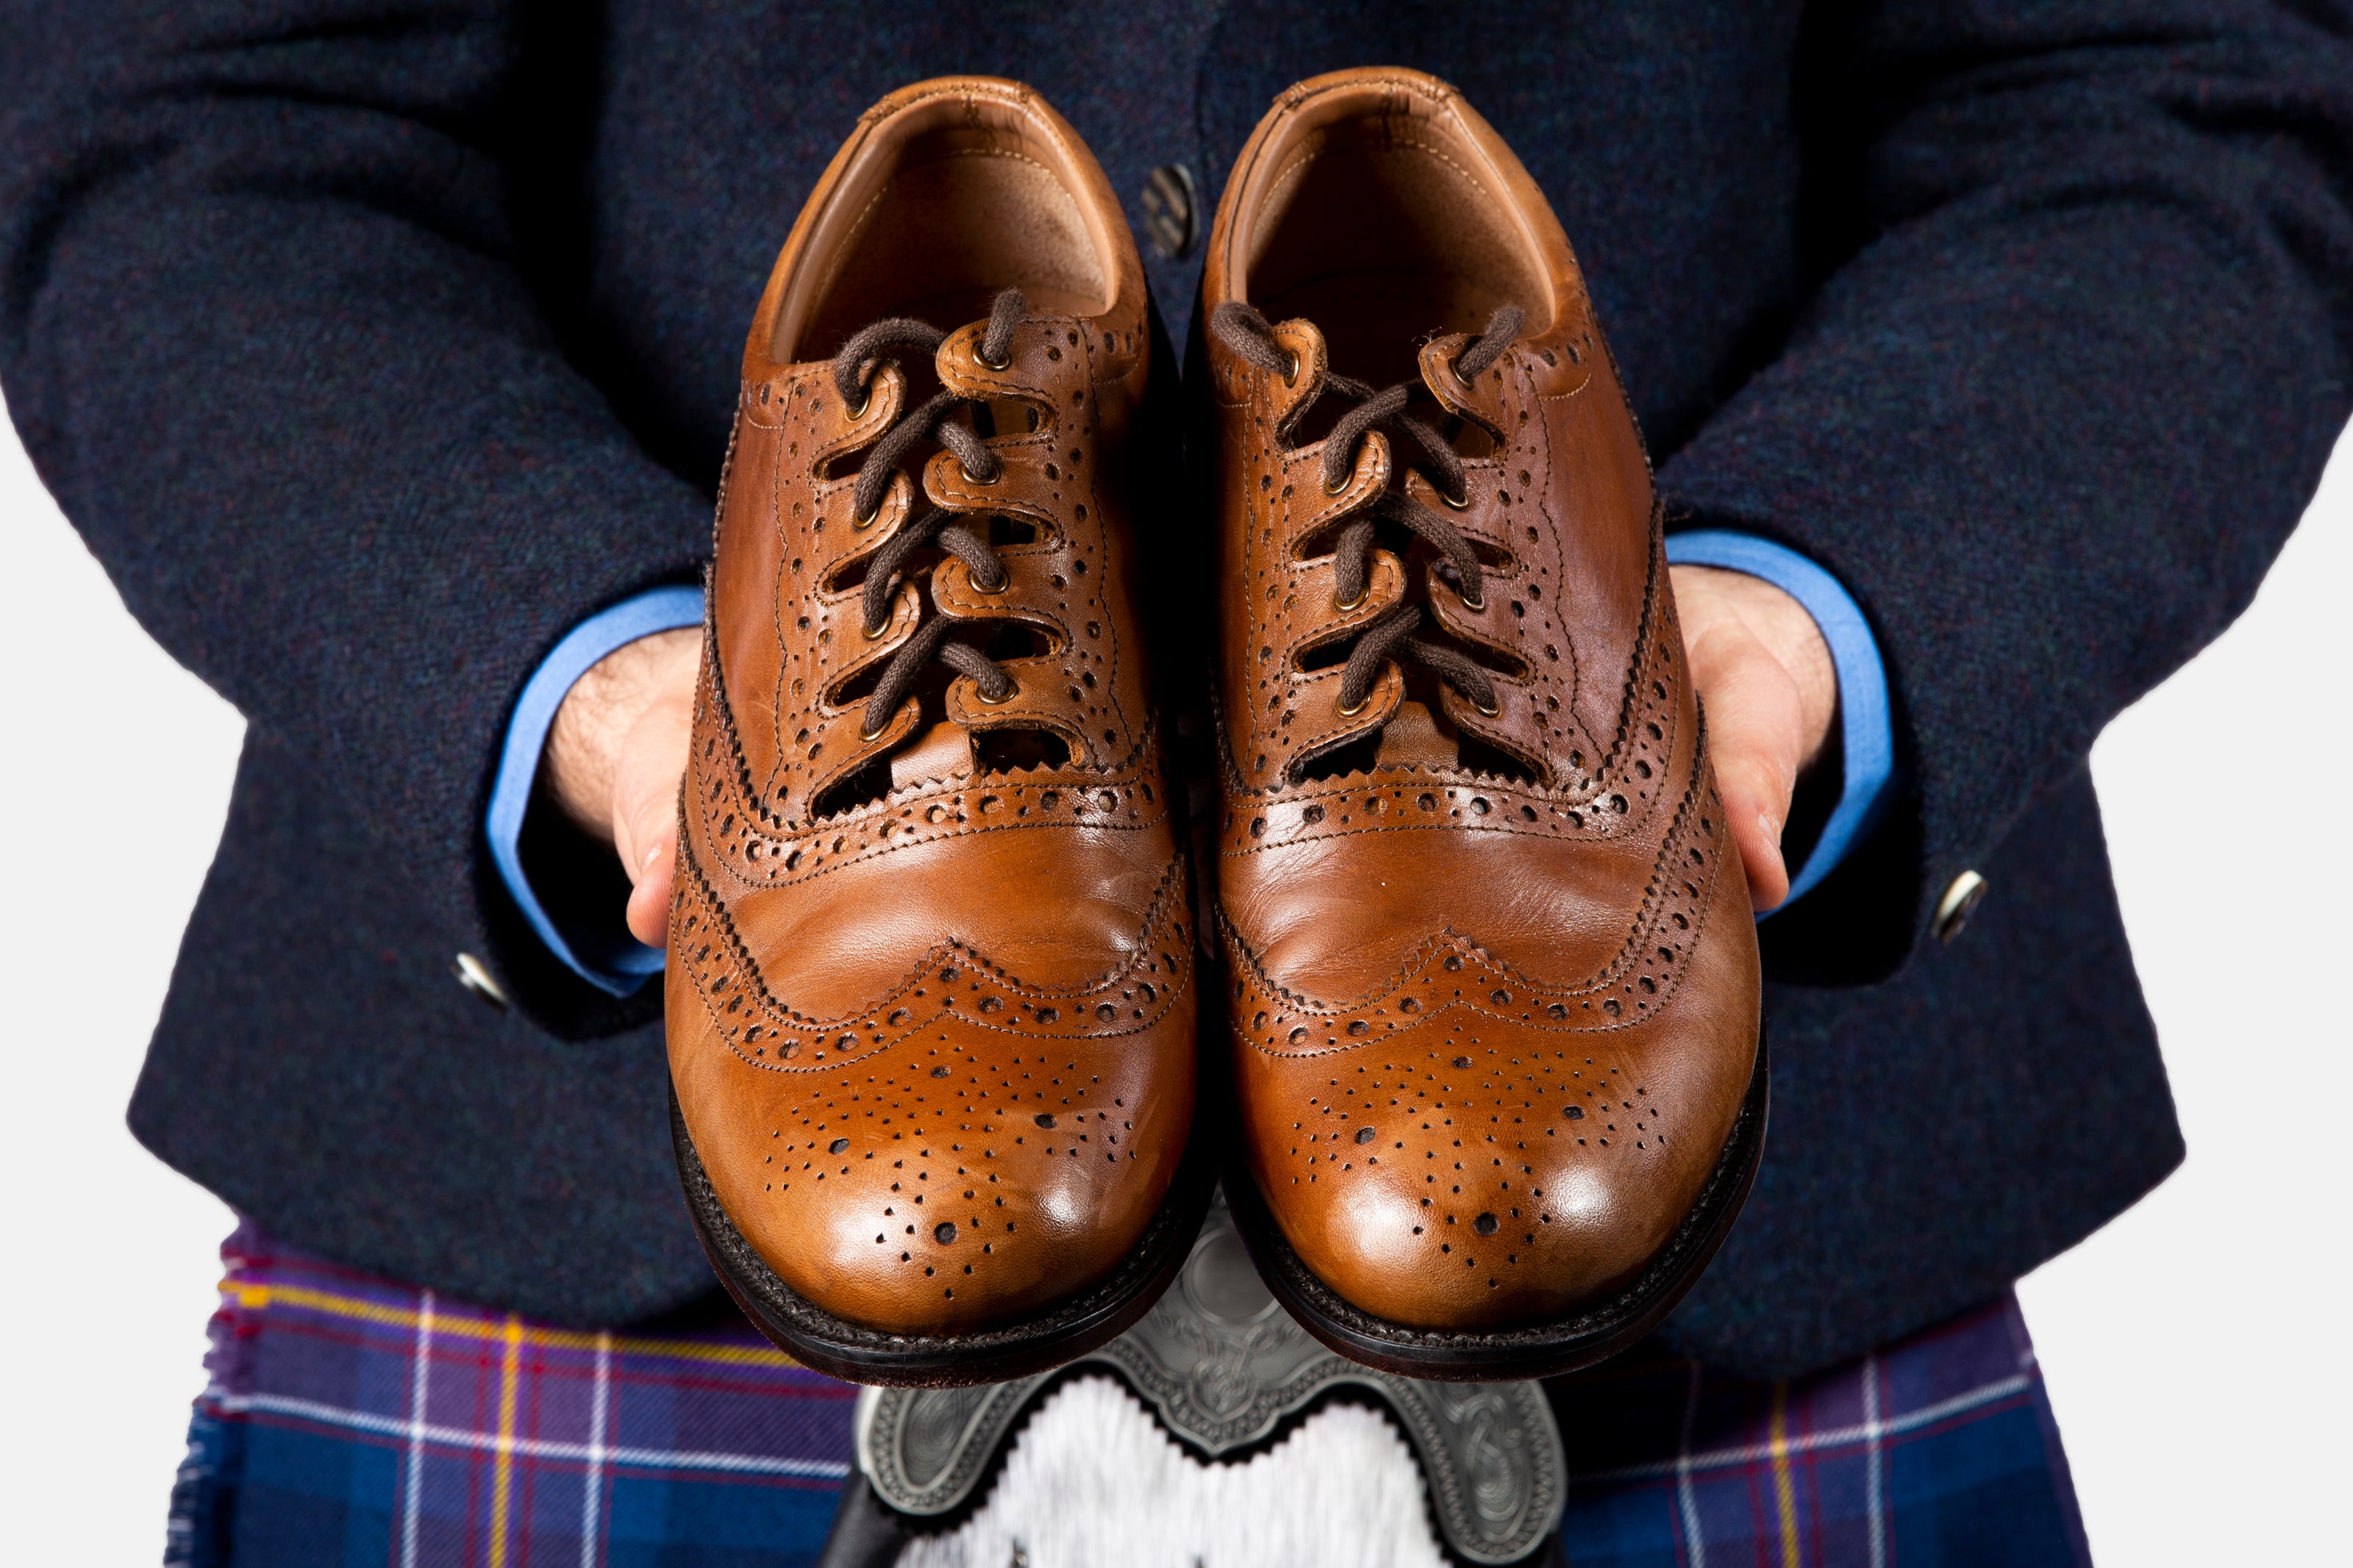
Step 8: Brogues
Put on your brogues, see our video in the next section for our foolproof method of tying your ghillie brogues.
-
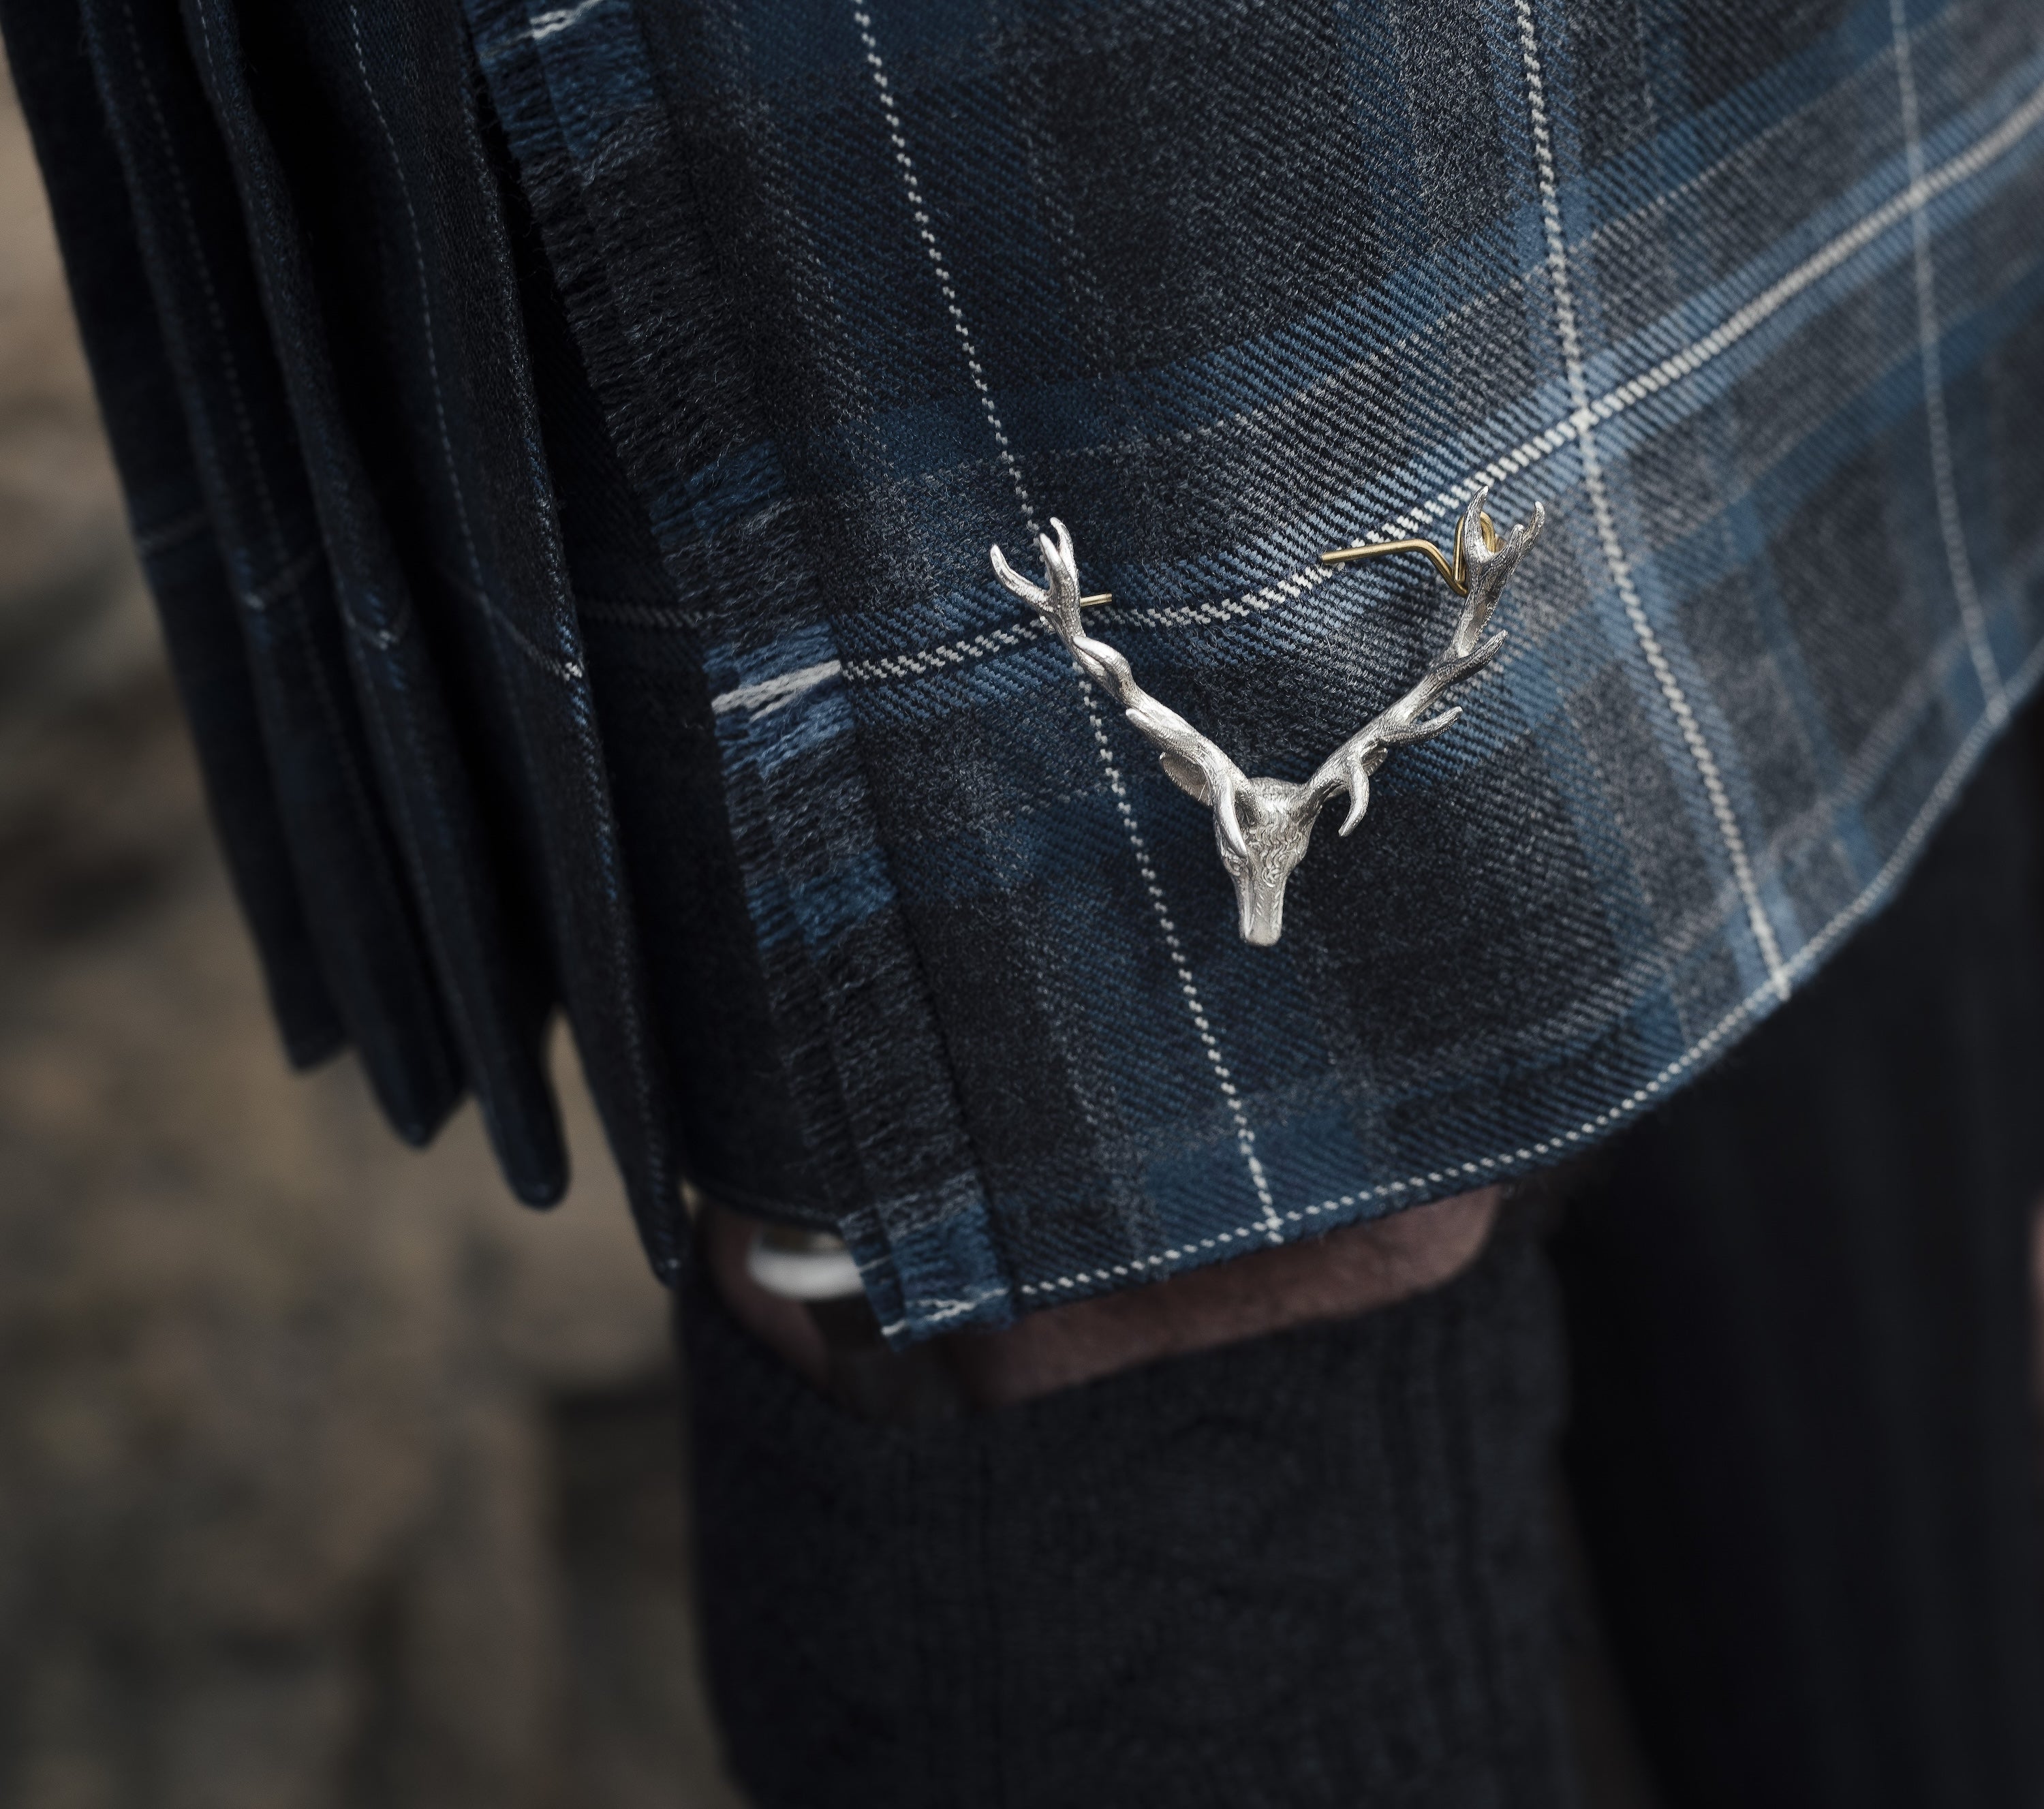
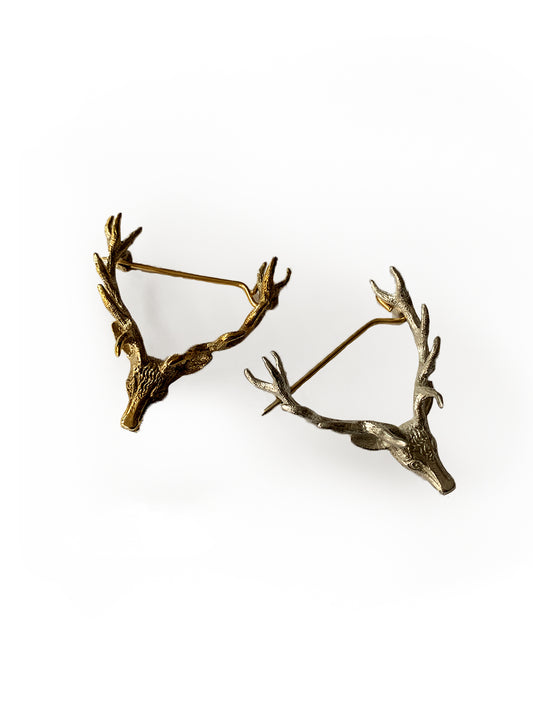
Step 9: Kilt Pin
...and finally, the kilt pin is not only a stylish flourish, but should be weighty enough to make your kilt apron behave in blustery weather (and keep your cheeks from turning red!).


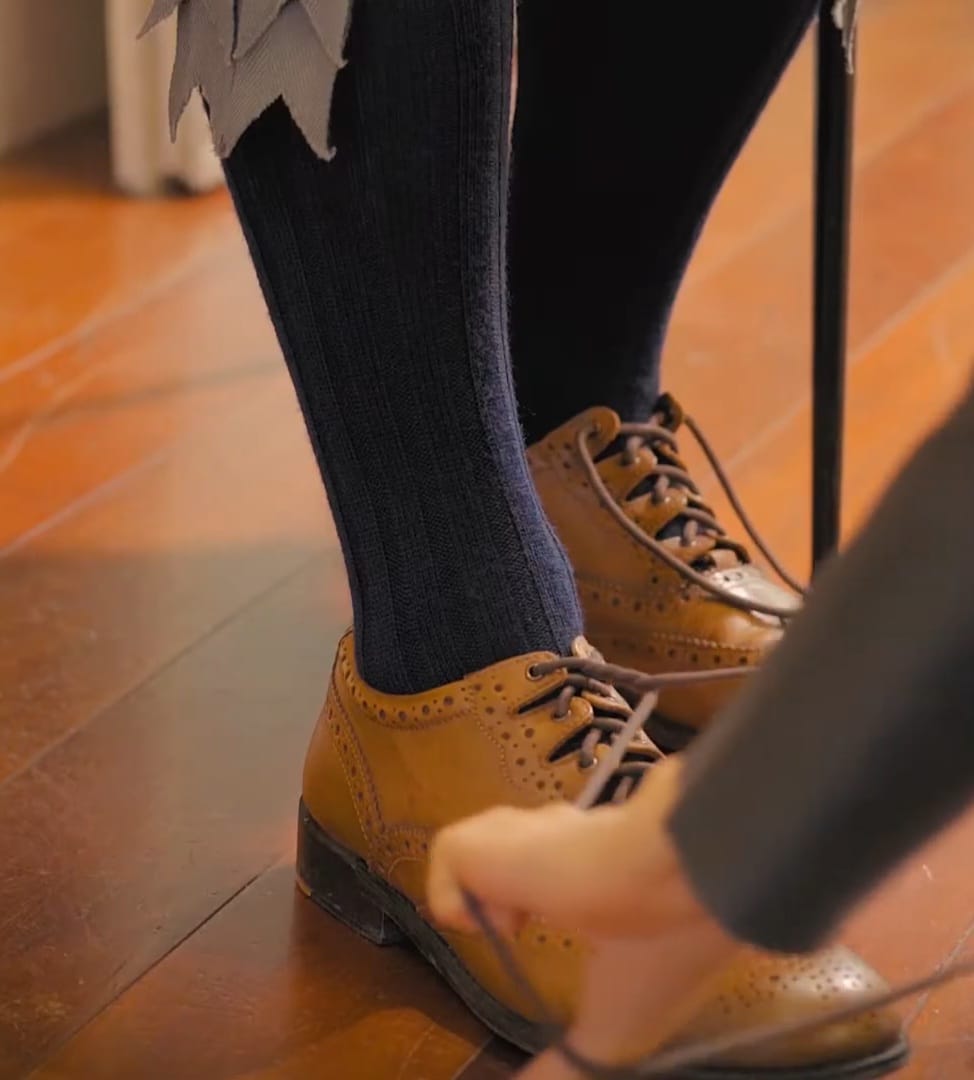
How to tie ghillie brogues, step by step
-
Step 1
Sizing is important, we recommend going a half size down for ghillie brogues as, due to the lack of tongue, they tend to feel quite wide.
-
Step 2
Start by twisting (not knotting) the laces four times around each other.
-
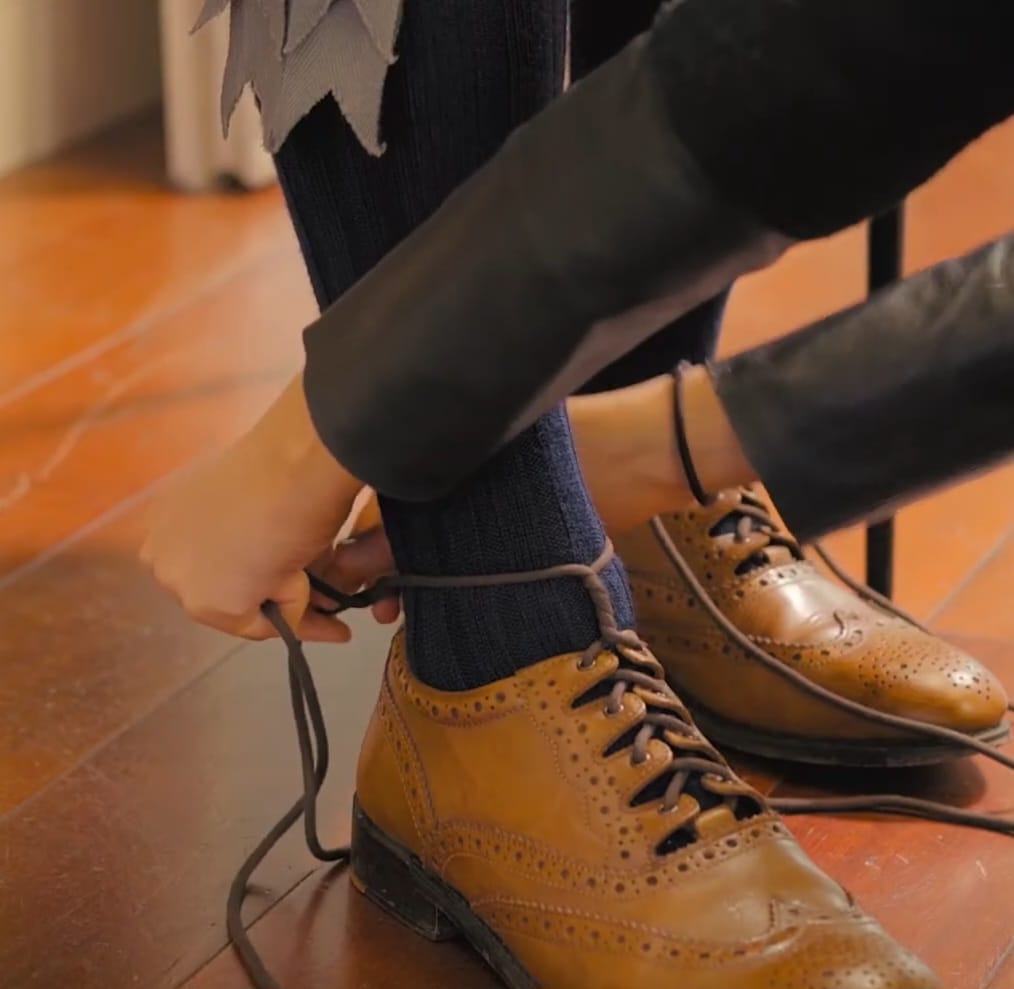
Step 3
Keeping close to the ankle, pull the laces to the back of the ankle and twist them around each other twice - keep low and close to the ankle, the further up the leg you travel the more the laces are likely to fall down.
-
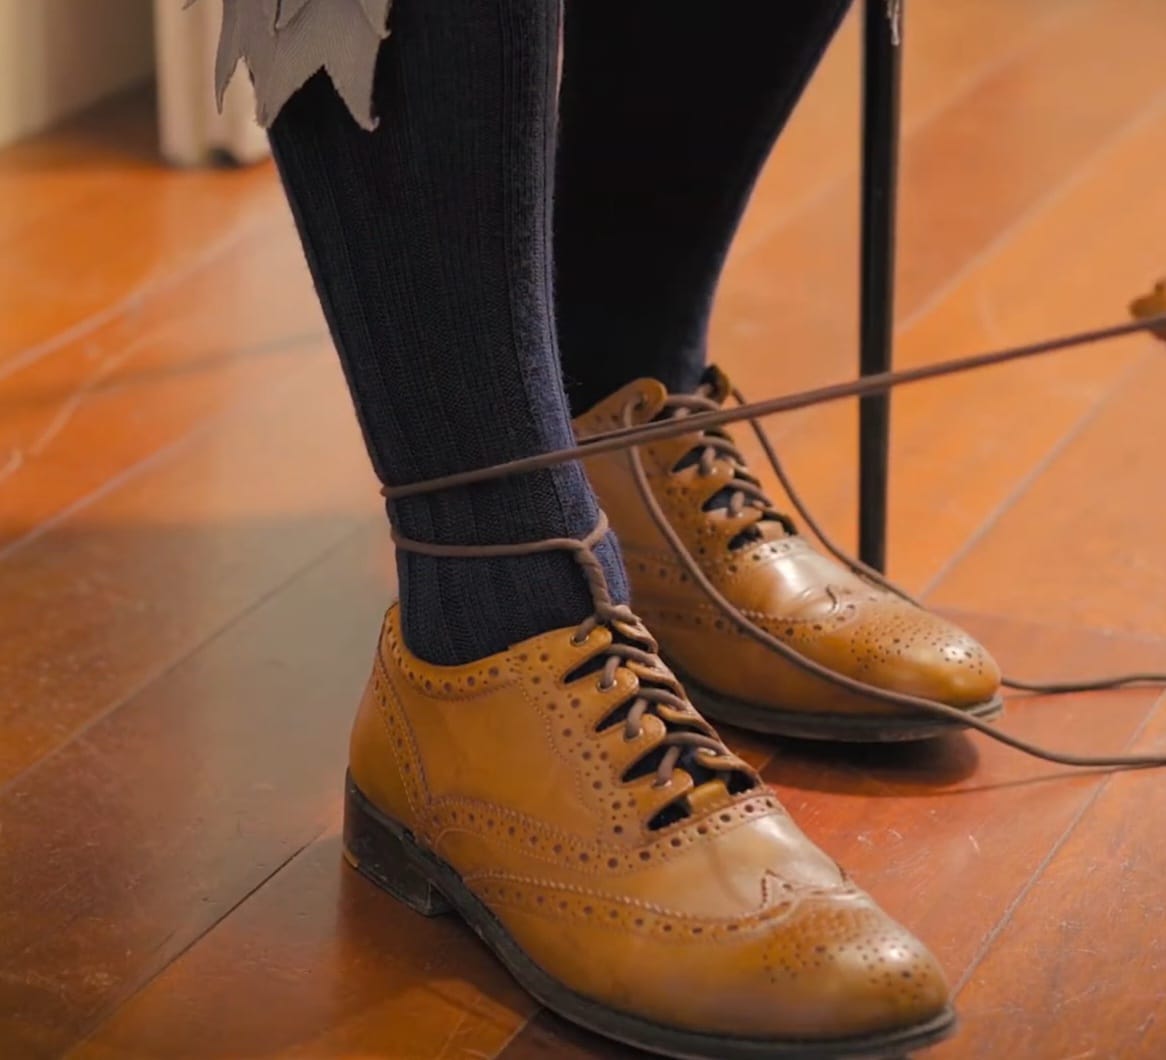
Step 4
Bring the laces to the front again and create a cross.
-
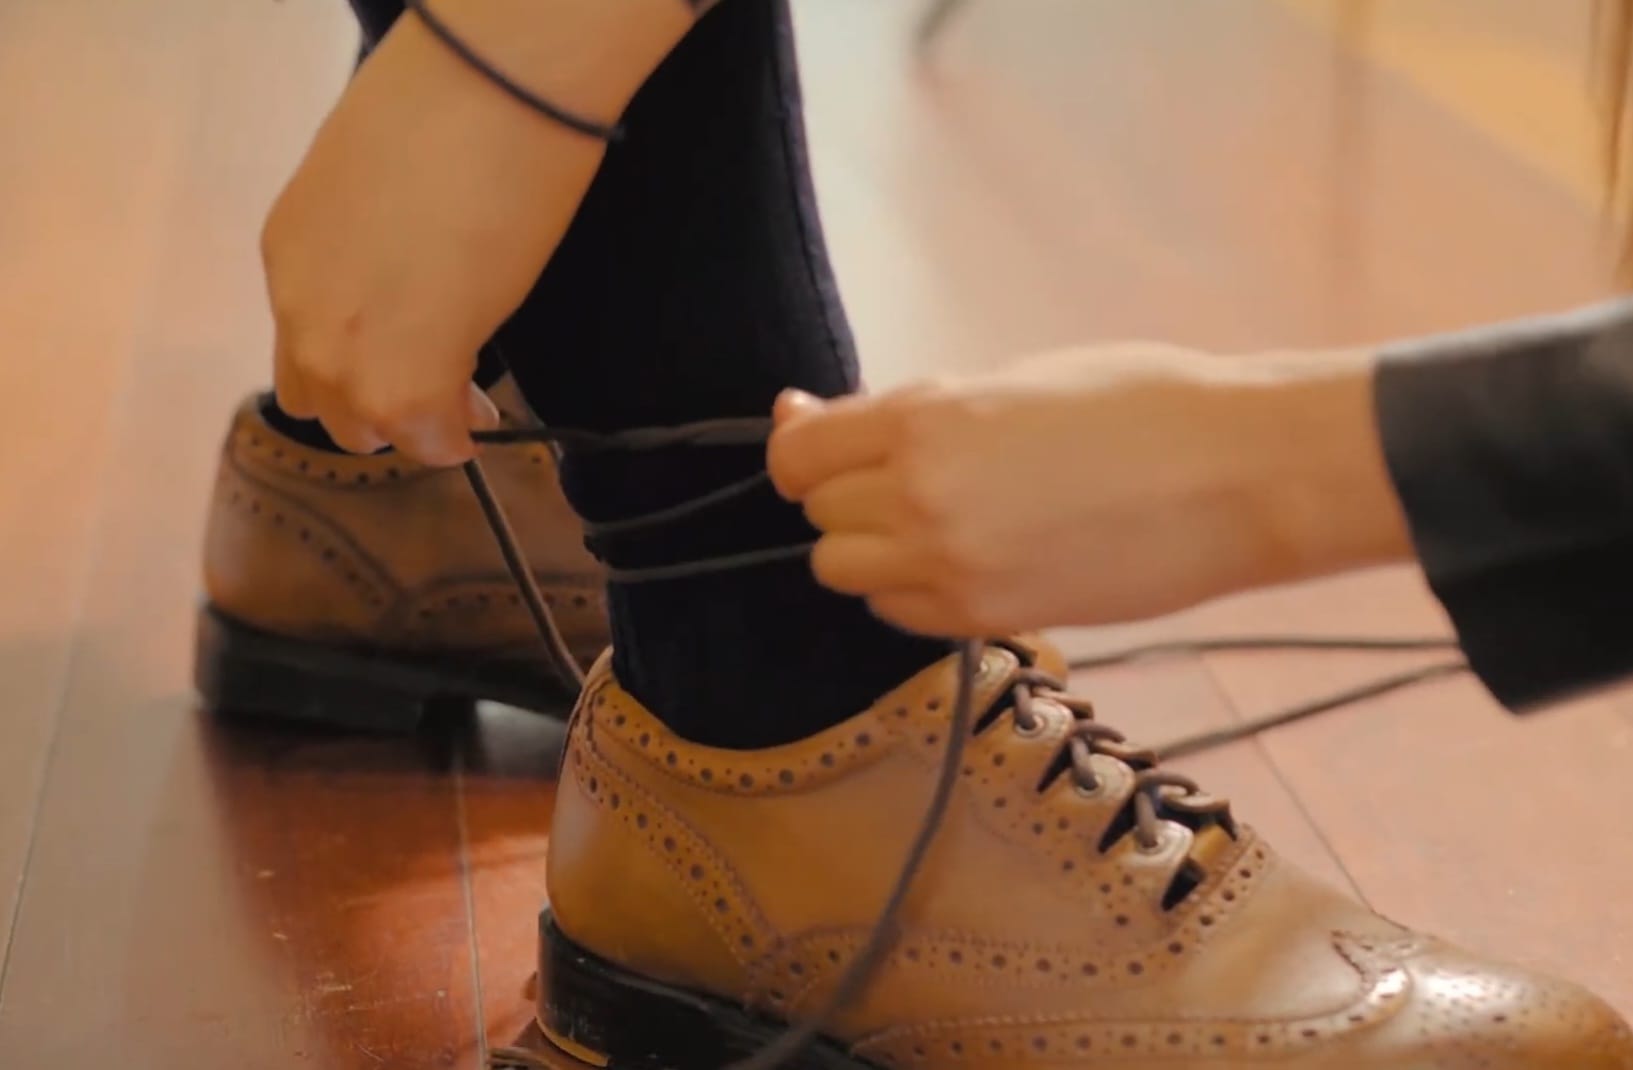
Step 5
Tie the laces on the outside of the leg. Make a double knot as you would your brogues or trainers normally.
-
Step 6
Ready to go!